If the core of any role playing game is the storytelling, then the supports for that core are the character featured within. This guide will not tell you how to create engaging characters, as that function is unique to each game and its management style. What we will do is instruct you on how to use Nova's dynamic forms by:
- Applying to a game
- Editing your bio once approved
- Creating secondary characters
Tip
For the purposes of this walkthrough, we are assuming the process is functioning exactly as intended by Nova's unaltered installation. Depending on the game you are trying to join, there may be additional fields, sections, and/or processes unique to that game. If that is the case, please make efforts to contact that game's administrator.
Applying to a game
To apply to the game, access the Join Application by navigating to the game's home or main page, and then selecting "Join" from the sidebar. Alternatively, you can also access the Join Application by navigating to the game's personnel page, and then selecting "Join" from the sidebar.
You will be taken to a preliminary screen, containing information and disclaimers that you will need to read and accept prior to joining. Nova's default disclaimer contains generic rules, regulations, and a COPPA disclaimer to comply with United States law. In order to apply to the game, you will need to accept the conditions by clicking the Agree button.
Once you agree to the conditions, you will be able to fill out the join application, which is divided into four sections:
- User Information: enter your future account information. Your email address will be necessary to receive notices from the game, including news items, mission posts, and private messages. Your date of birth may also be necessary to verify that you meet the age requirements for the game.
- Character: enter the name of your character, along with the position you are applying for.
- Character Info: enter all appropriate background and history details for your character.
- Sample Post: Many games will require a sample post to review your writing style and habits as part of the application process. This often gives the management team insight into how your character may operate within the game.
You can navigate to each section by clicking the tab, or by selecting the Next Step button at the bottom of the section. Once all sections are complete, click Submit.
Tip
It is not possible to save a partially completed application. Only completed applications will be stored in the game's database. The Nova system can also time out a user who spends a significant amount of time crafting the application while on this page. Therefore, we recommend visiting the application page first, copying down the required fields, and crafting the application in a separate editor such as Microsoft Word or Google Docs. Once the application is finished, return to the application form, copy/paste the information into the appropriate fields, and then hit Submit.
Once submitted, you will receive an email from the website containing your username and password information. Do not delete this email. This information will not be validated on the site until the management approves your application.
When management approves your application, you will receive another email from the website with any information you will need to know, including your character's approved position and rank. Once you receive this email, you are clear to log into the website and officially join the game in progress.
Should management reject your application, you will receive an email notice. Your account will not be set up on the Nova site, nor will your password work. This will not keep you from reapplying if you wish to do so.
Why didn't I receive an email?
If you didn't receive an email from the website, there are three possible reasons:
- Your email address was entered incorrectly. Contact a member of management to assist you with fixing this.
- Check your spam folder. On occasion, your email service might determine that any email from Nova could be considered spam and will have therefore kicked it into your spam folder. If this happens, simply tell your provider that the email from the Nova site is not spam and return the message to your inbox.
- Your email provider isn't Nova friendly. Some providers, such as Yahoo, can automatically intercept emails from Nova and make them disappear before they have a chance to enter your inbox. If this is the case, contact the game's management and ask for information on providers that have a positive track record with Nova's emails.
Editing your character bio
As your time on the game progresses, you may desire to edit your character's bio in order to keep it up to date. To do so, you can access your bio via the game's Personnel page. If you are logged in, you will see a link on your bio to edit your character. Alternatively, you can access any of your character bios from the Dashboard. Simply click the Dashboard icon at the top of the page.
Make any adjustments to your bio and click submit at the bottom of the page.
You can also add image(s) to your character, such as an avatar to give the other players a better idea of what your character looks like.
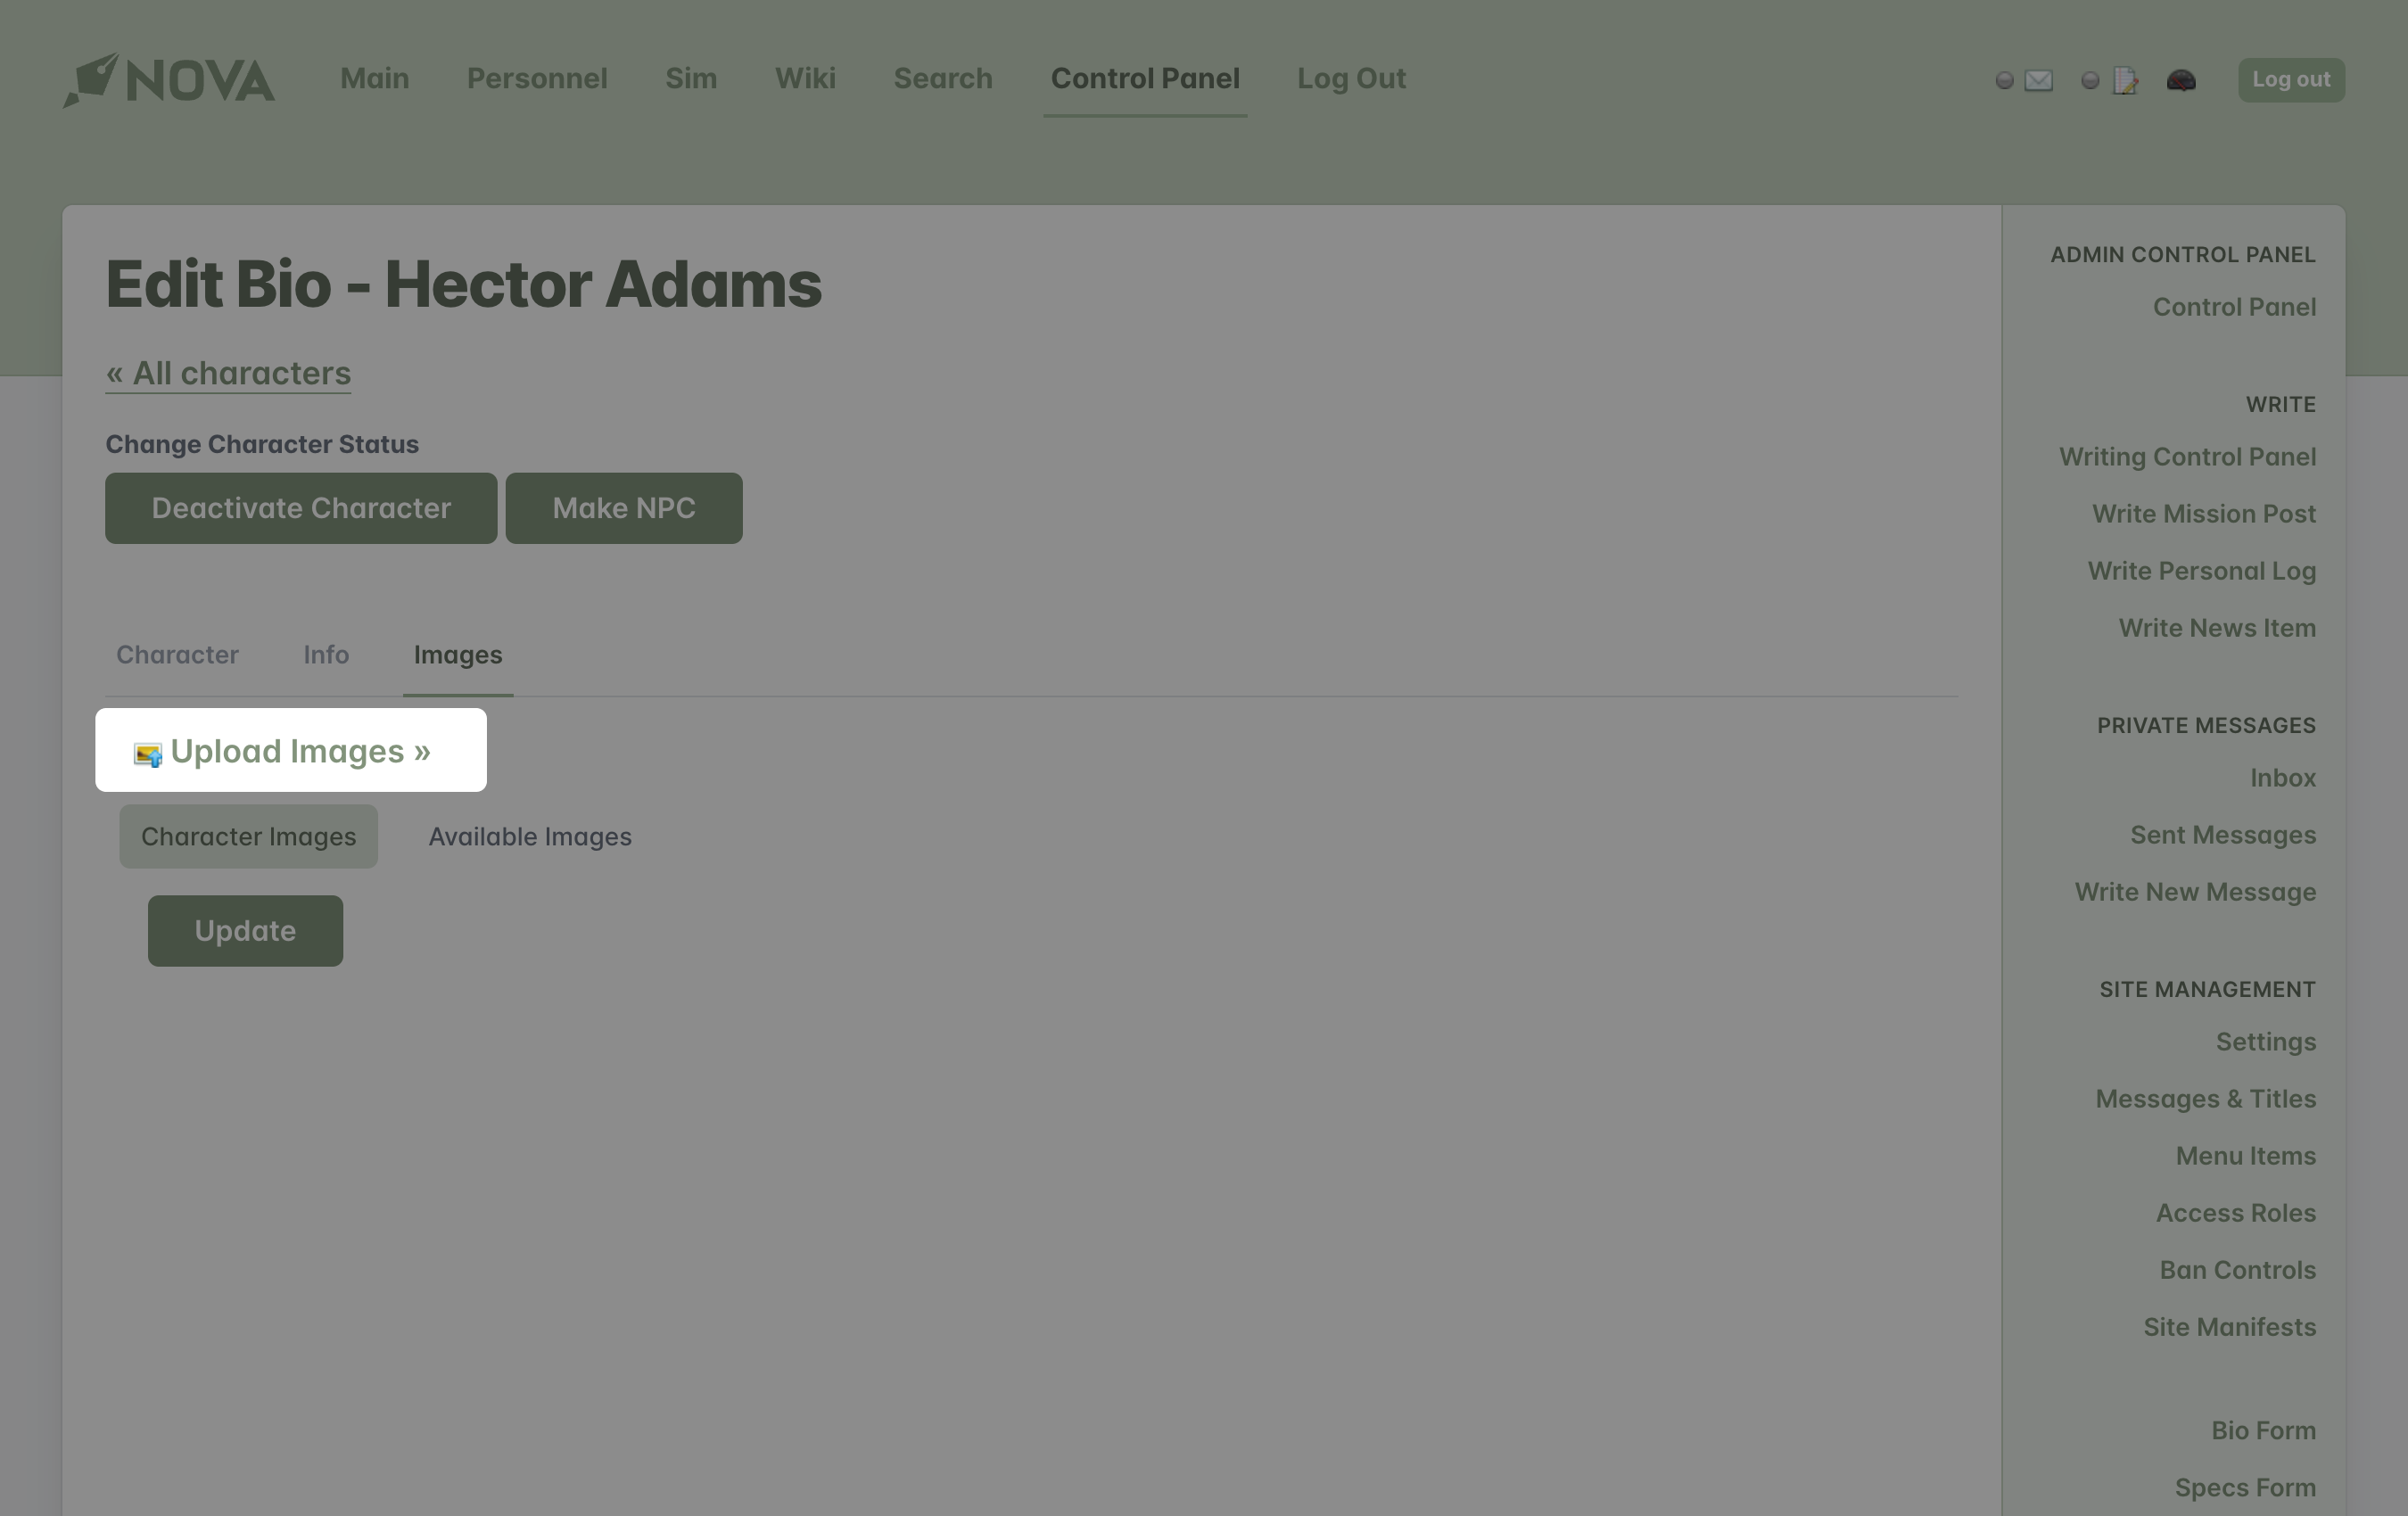
- Select the Images tab.
- Click on Upload Images.
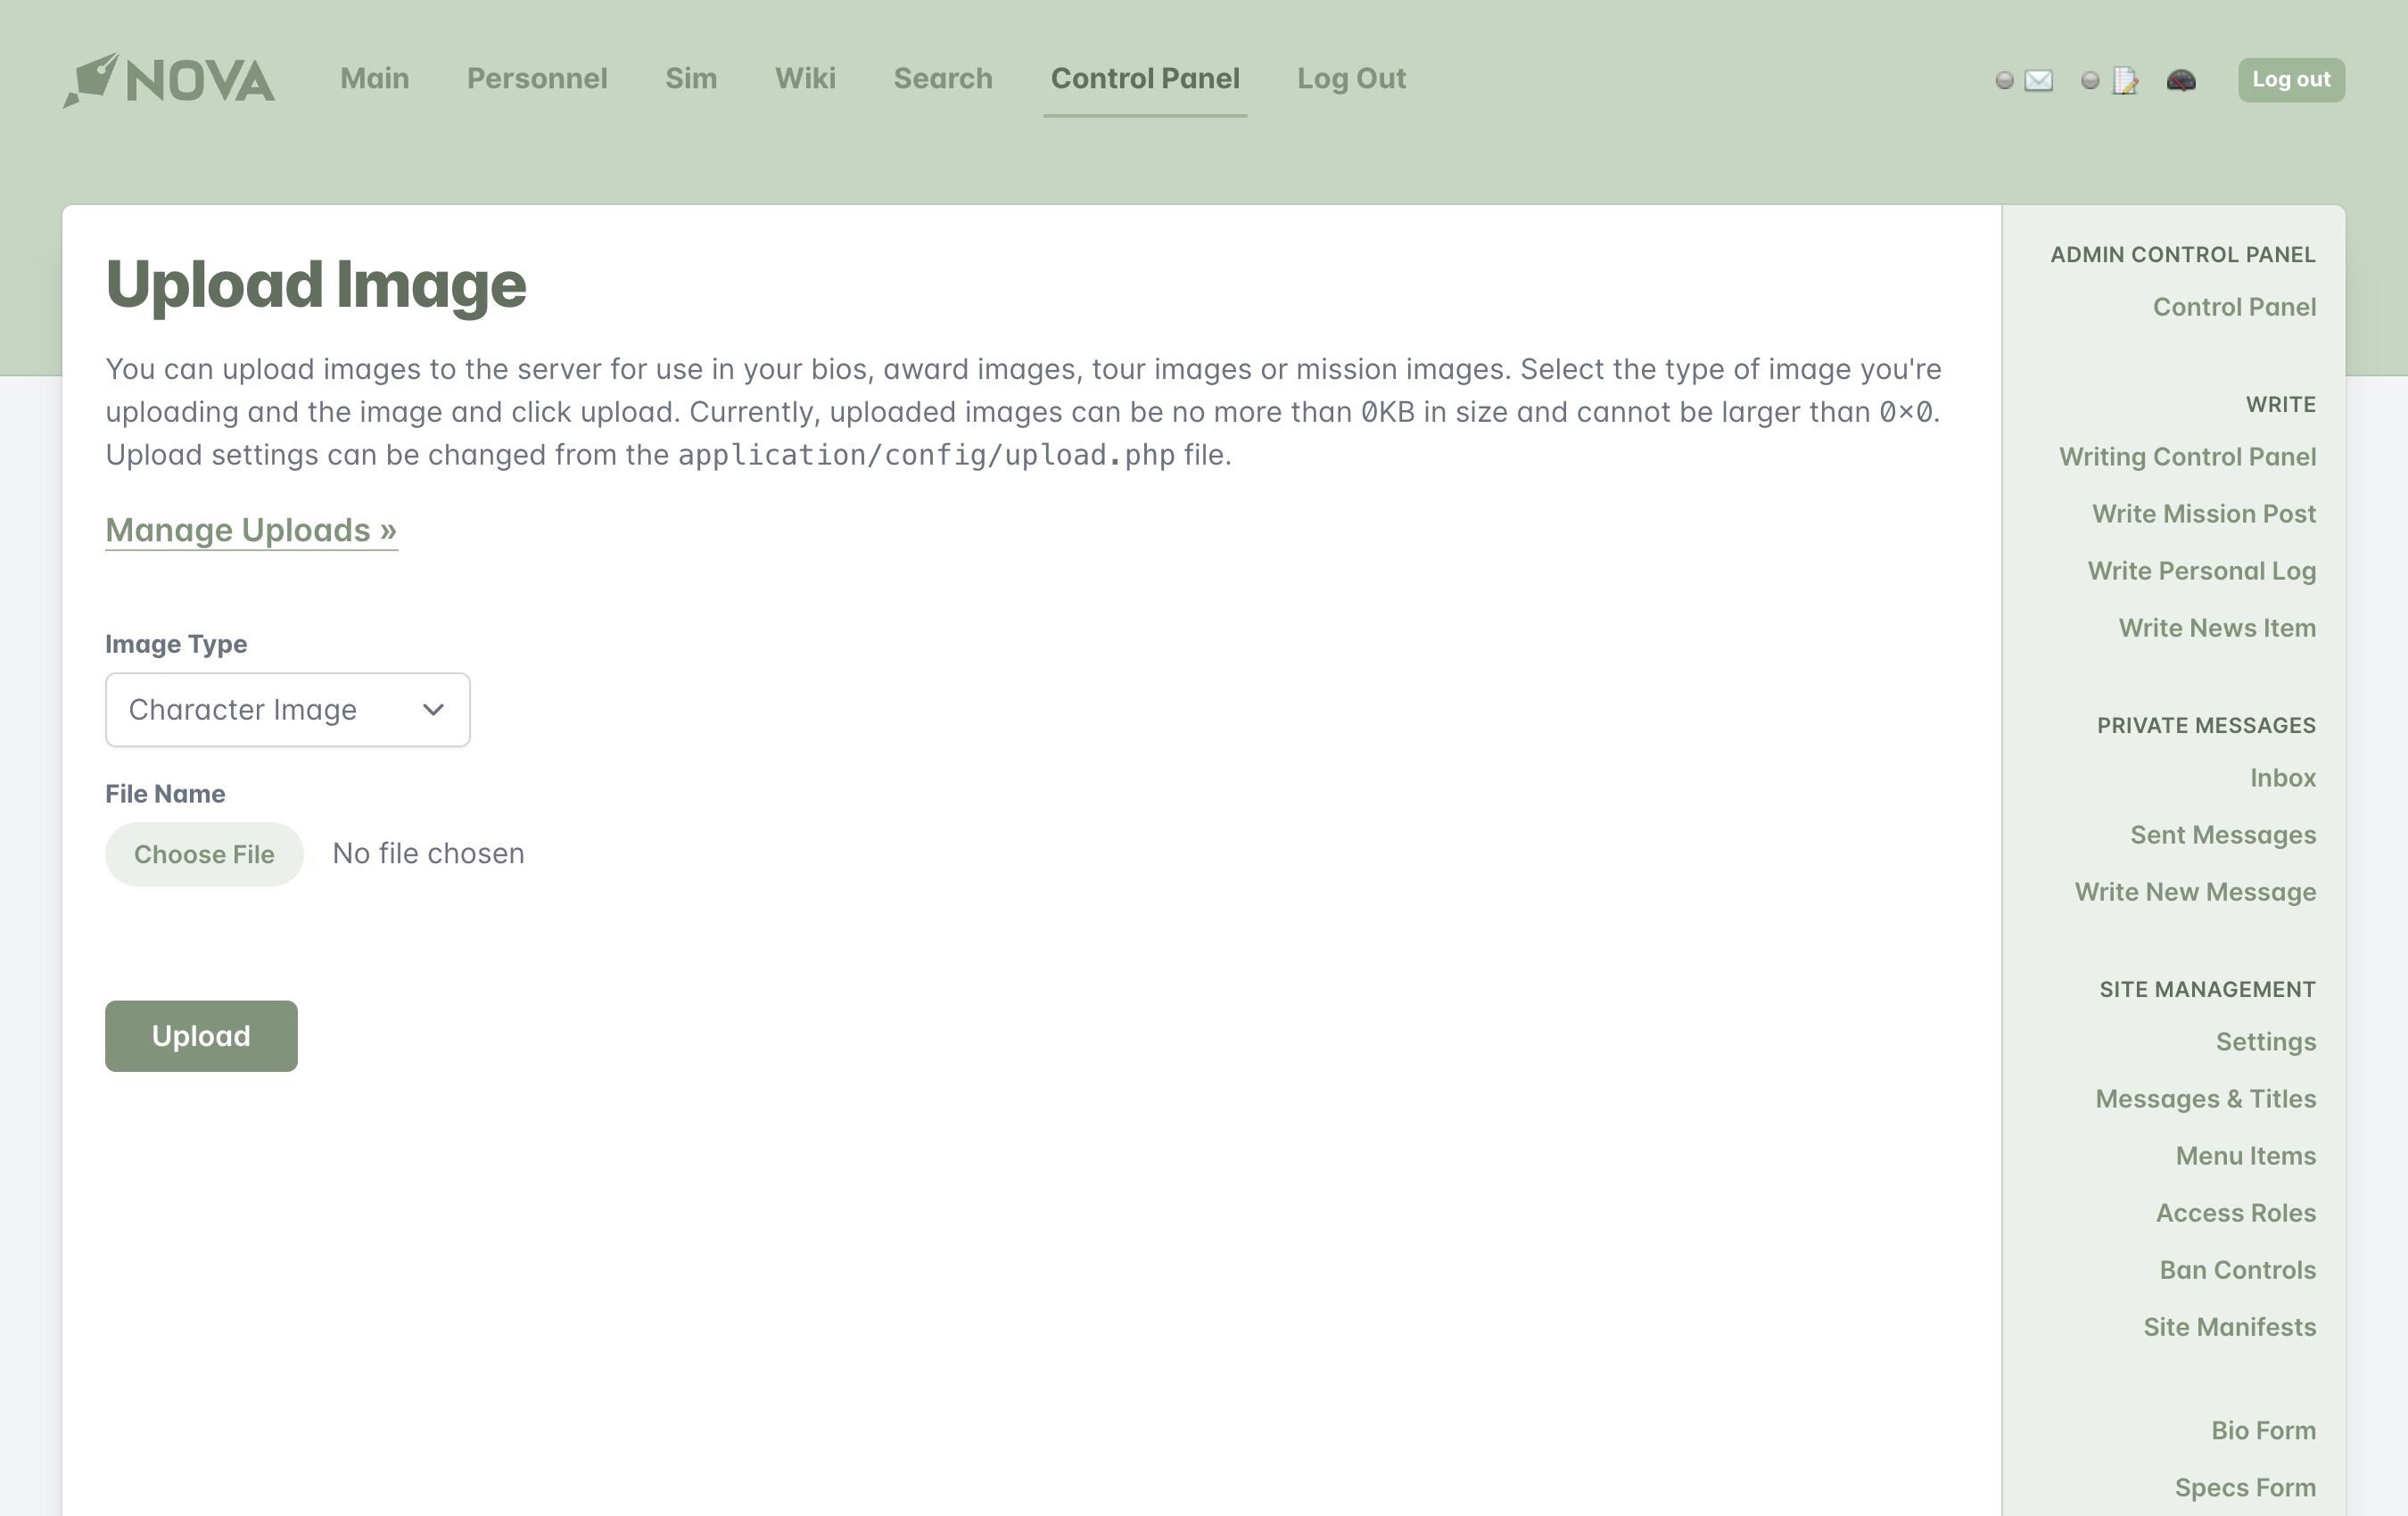
- Upload your image(s) one at a time, being sure to select Character Image as the Image Type.
- Return to your character bio and select "Edit Character".
- Select the Images tab.
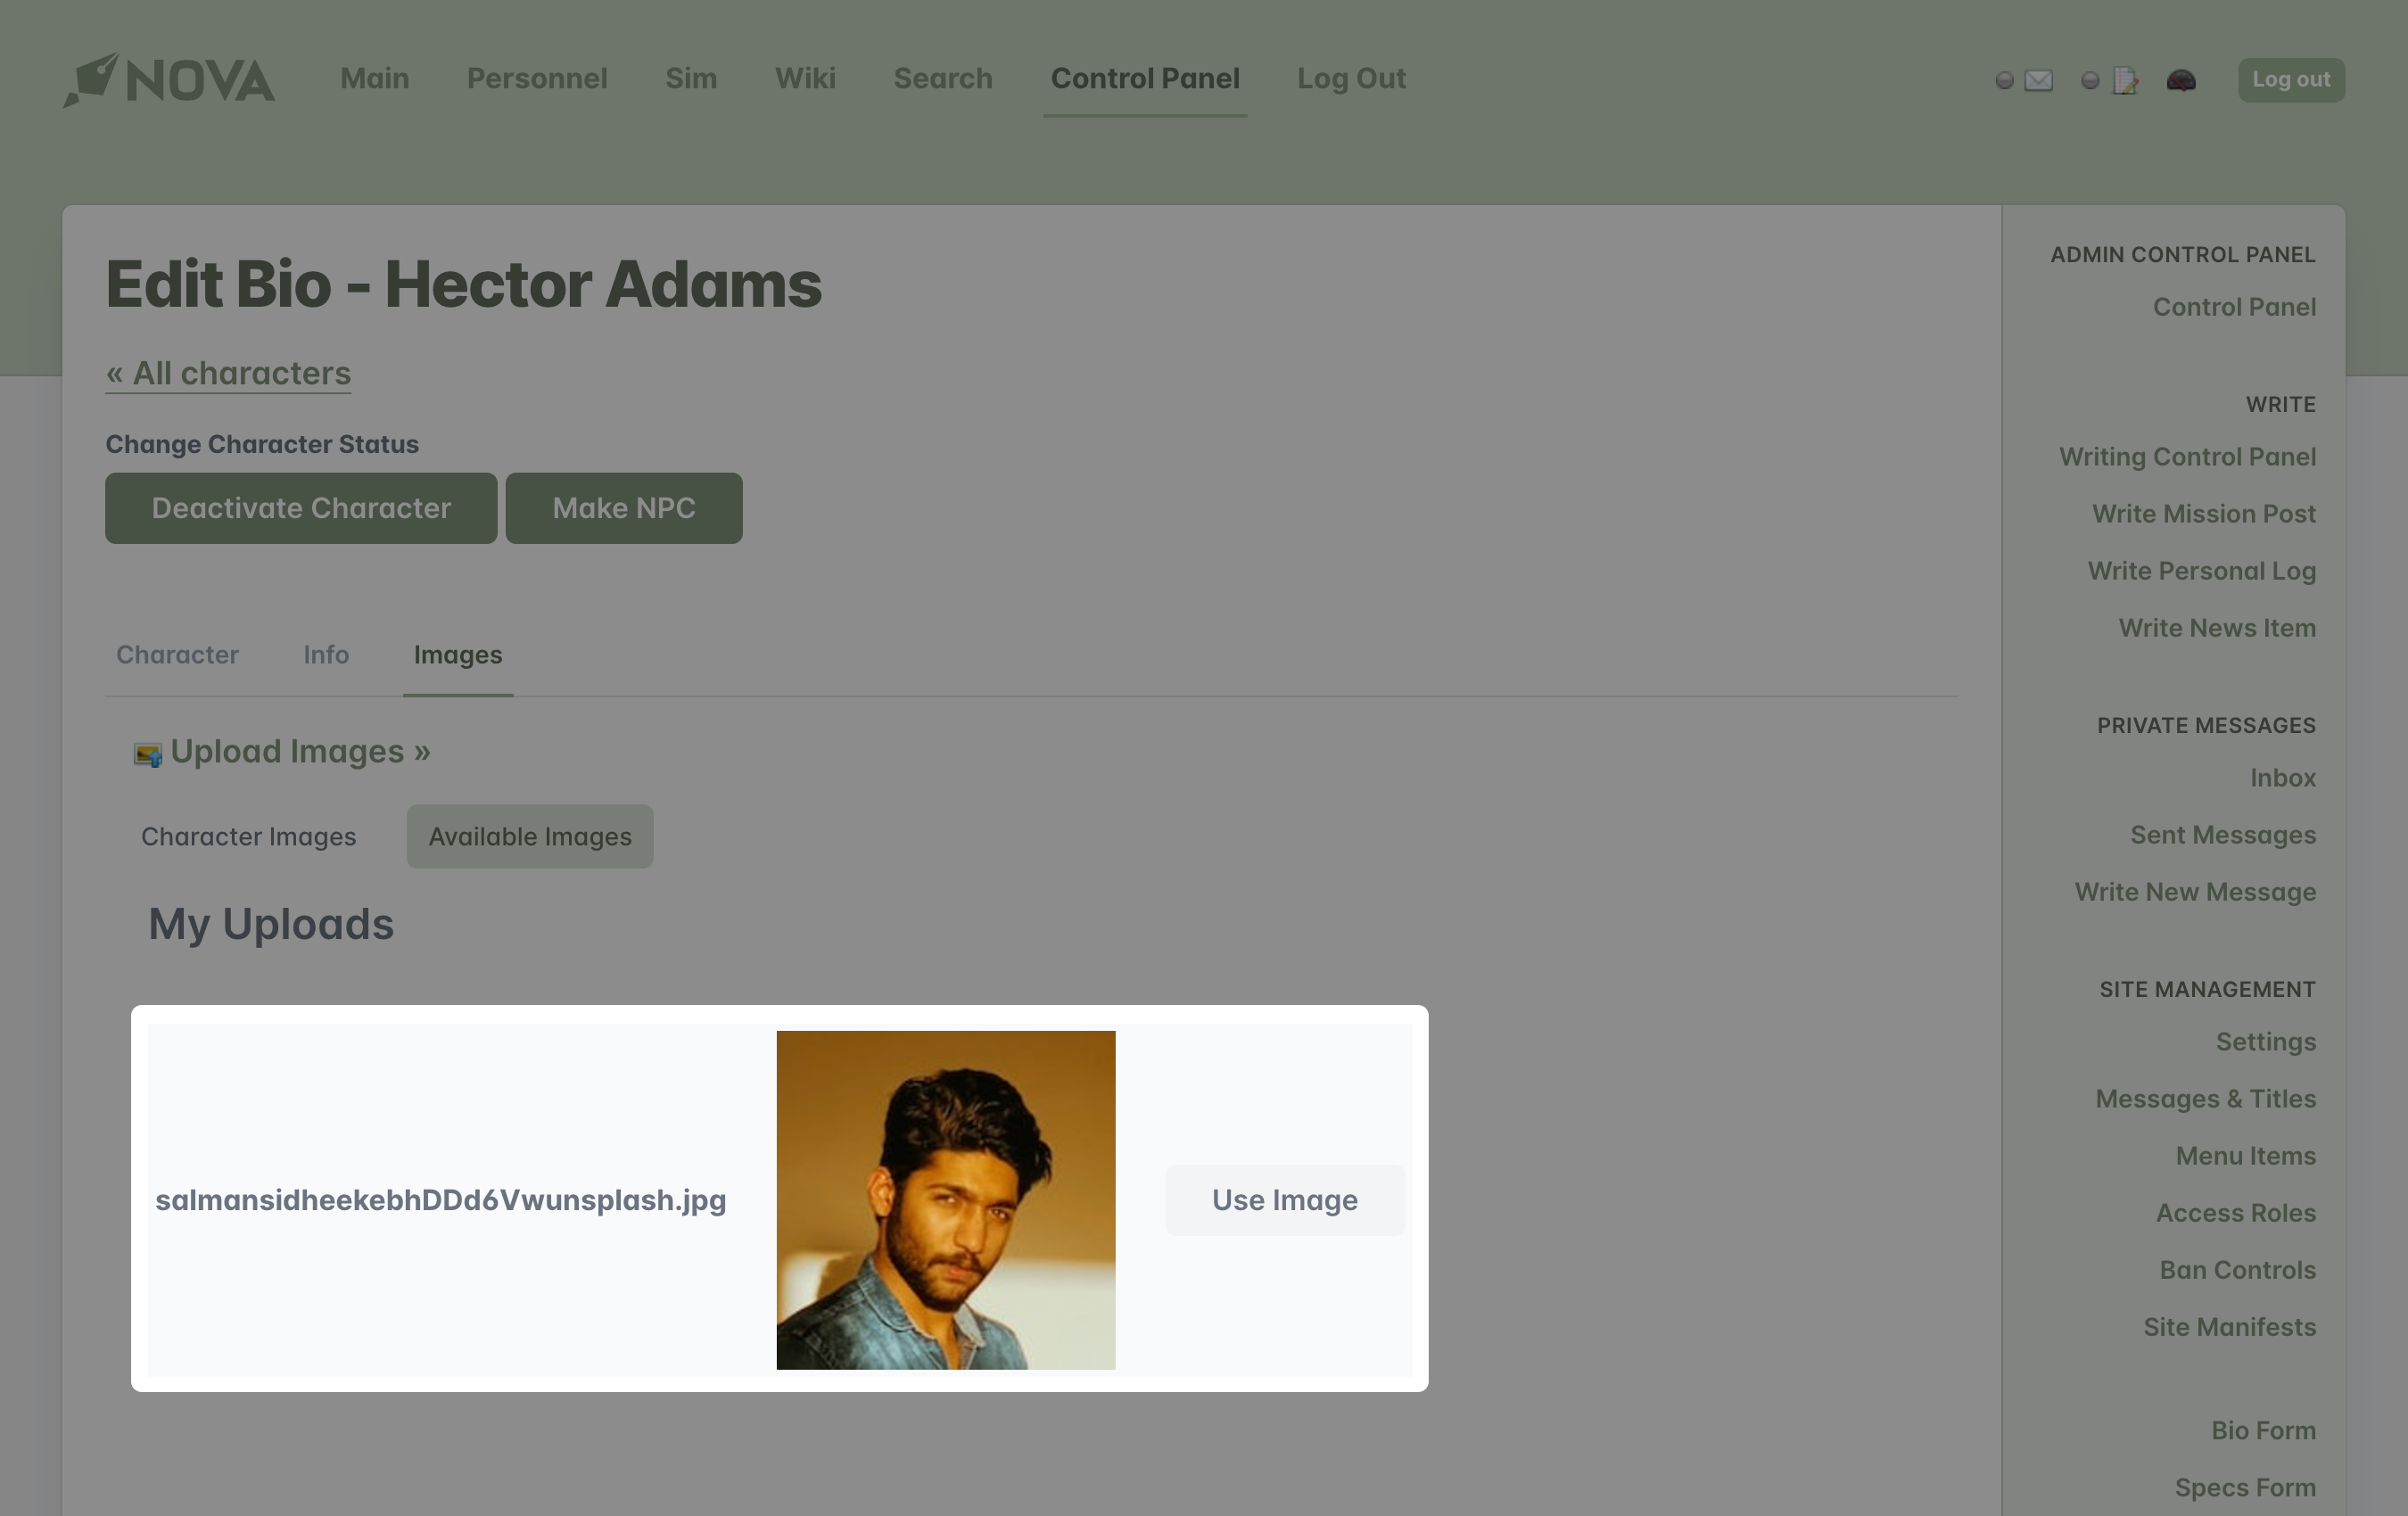
- Select the Available Images tab.
- Locate your image(s) and click Select Image
- Return to the Character Images tab and arrange your images in any order. Click Update.
- Click on the Character tab.
- Click Submit at the bottom of the form.
Adding a secondary character
Tip
Unlike the application process, support characters are often immediately made available for use. If you wish to create a secondary character, please first consult with the game's management staff to see if there are any special requirements or nuances to how these types of characters are used in the game. Often times, if these characters are created without the permission or blessing from the management staff, the support character will likely be deleted.
Some games will allow their players to add secondary characters. These characters, often known as Non-Player Characters (NPC) or Player-Controlled Non-Player Characters (PNPC) can allow players to "flesh out" departments or environments, especially if characters are available only in small numbers.
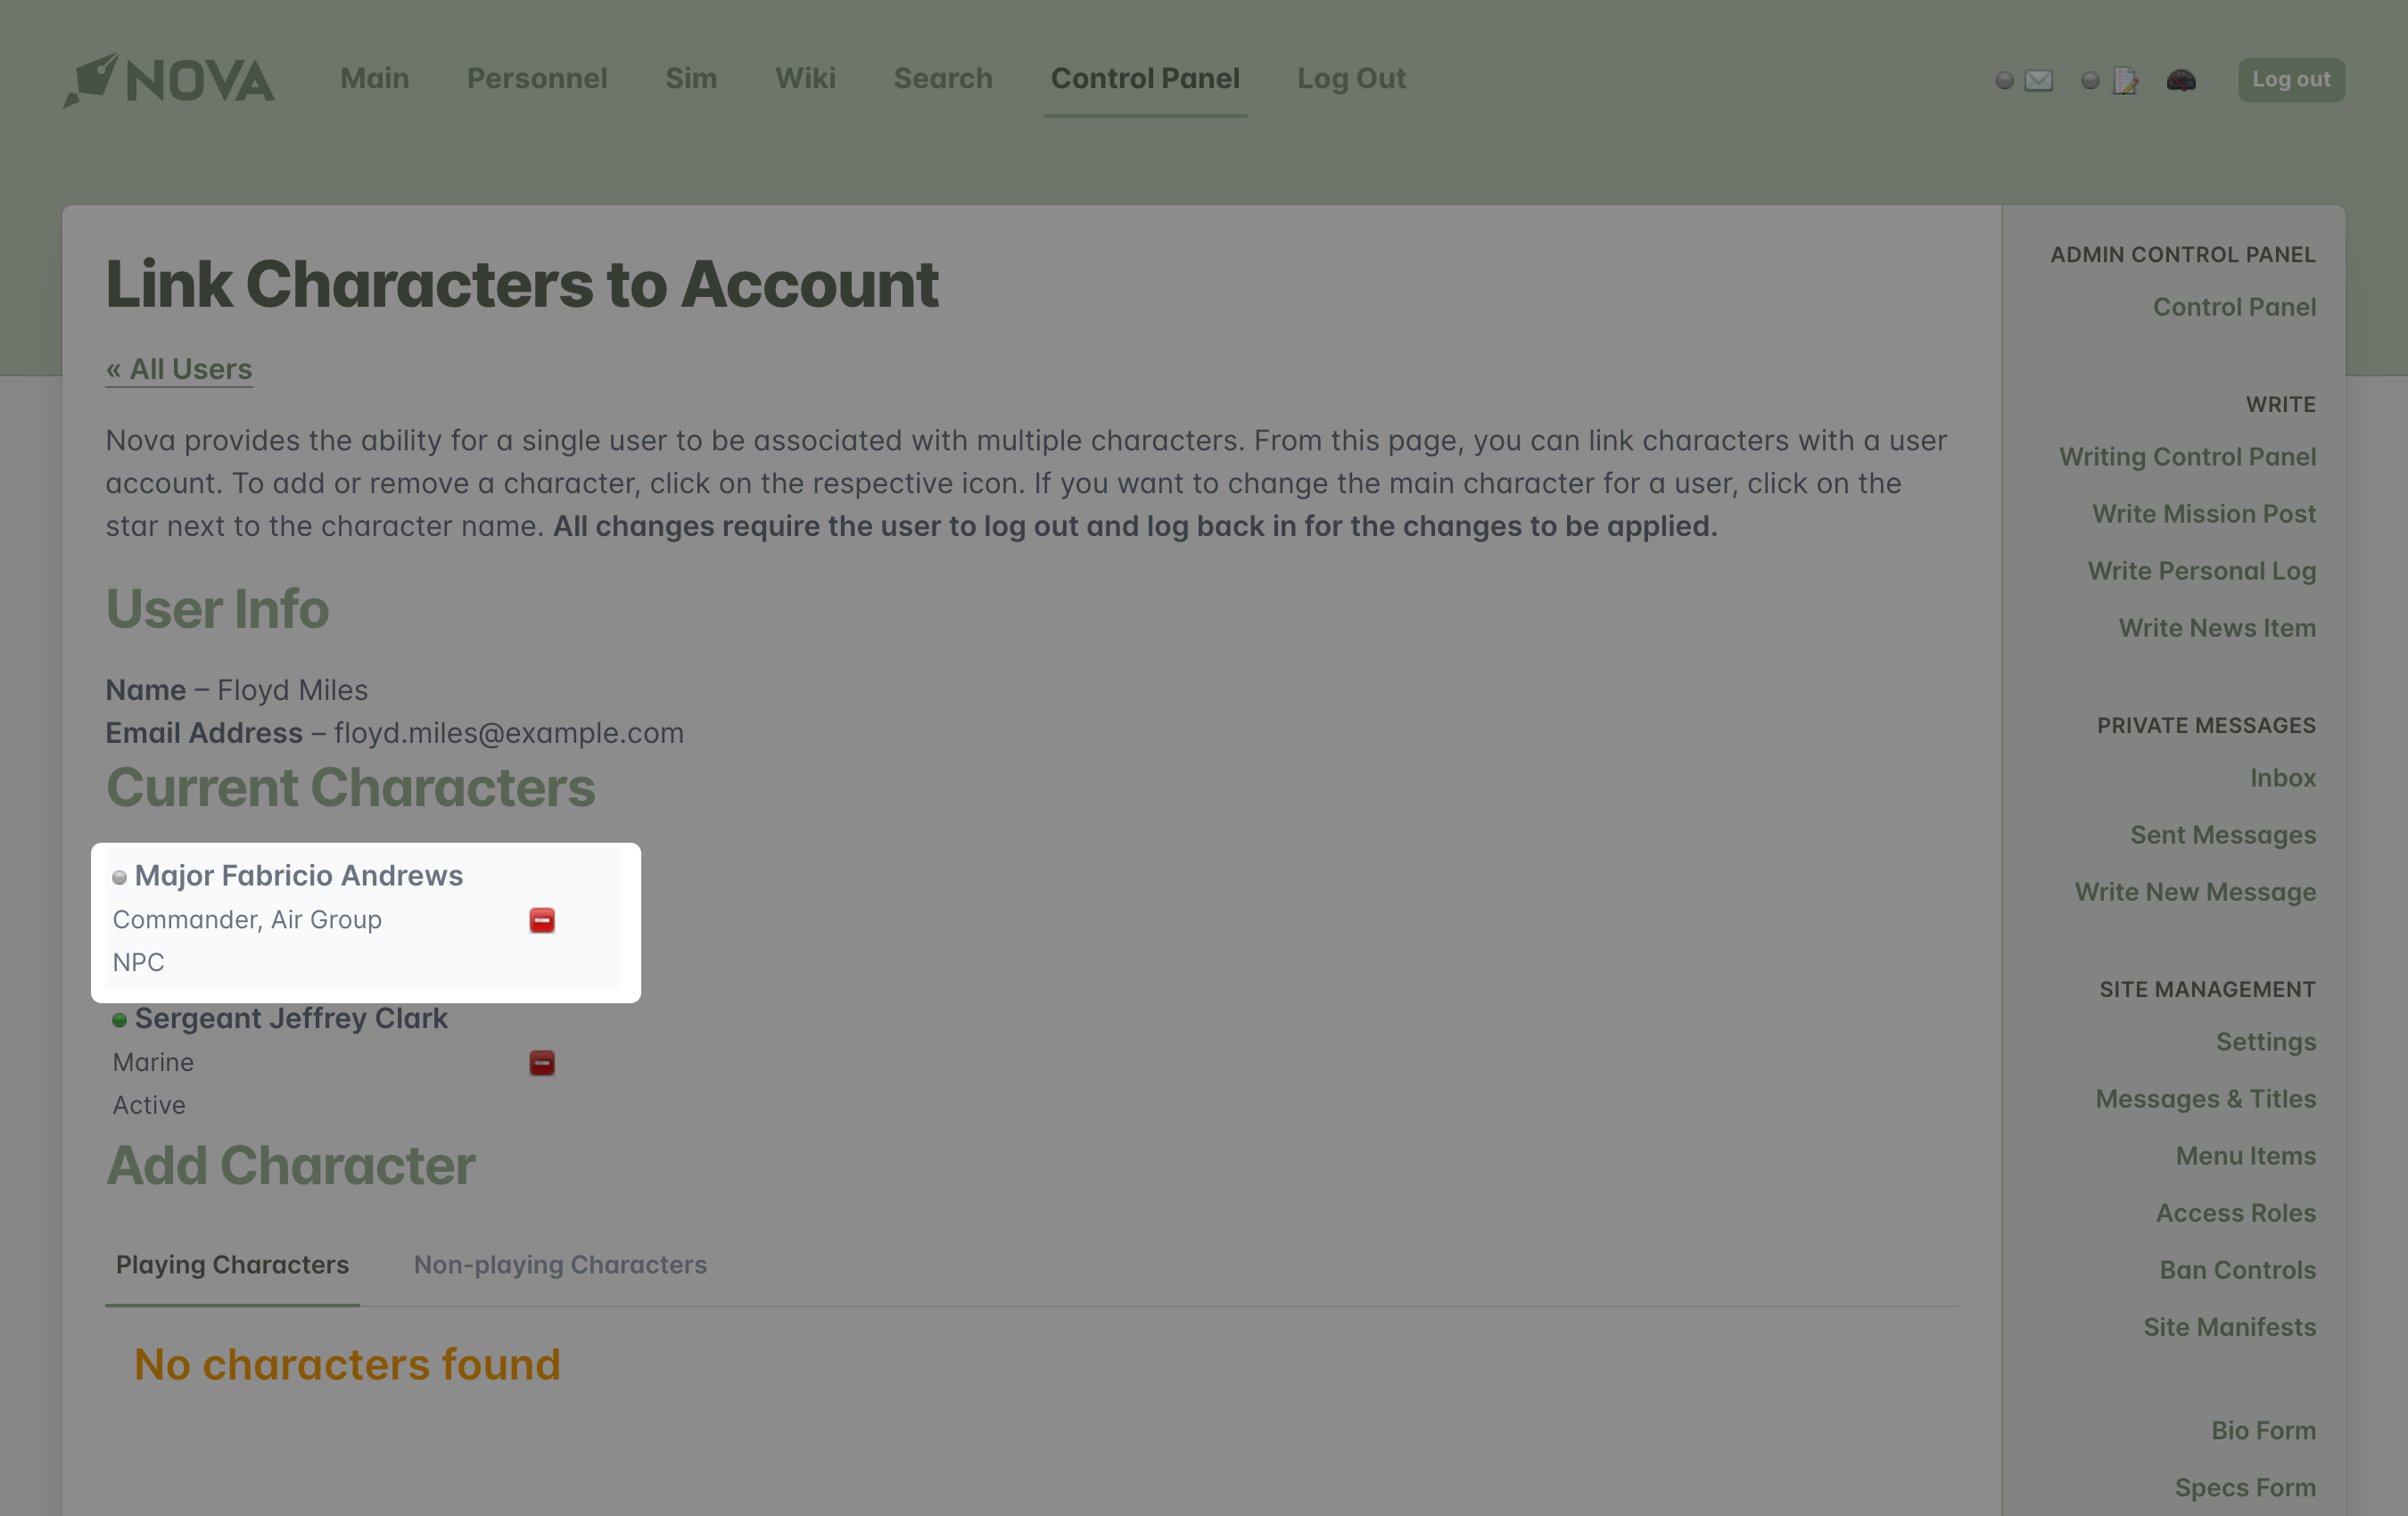
Any player can create a secondary character by accessing Nova's control panel and locating Create Character under the Characters submenu in the sidebar navigation.
Select whether or not the new character will be a Playing or Non-Playing Character. The default selection is Non-Playing Character as most gaming organizations have strict requirements regarding qualifications for player characters. Enter in all appropriate information for your new character, along with selecting an applicable rank and position, and hit Submit.
Tip
All secondary characters are created without being attached to an owner. Some of these characters are intended to be that way so that they can be used by multiple players. Other characters might need to have restricted access or ownership as to prevent them from being used by other players.
Assigning secondary character(s) to a player
Tip
To assign a secondary character to a user, you must have at least the Basic Administration access role, or your access role needs to have NPC Management Level 2 or 3 feature(s) enabled. Typically, this feature is reserved for those who are managing the game.
If you do not have this access, you will have to contact a member of the game's management to have the secondary character assigned to you.
To assign a secondary character to a player, access Nova's control panel and locate the Link Characters option under the User subheader in the navigation sidebar.
Select the user from the provided list.
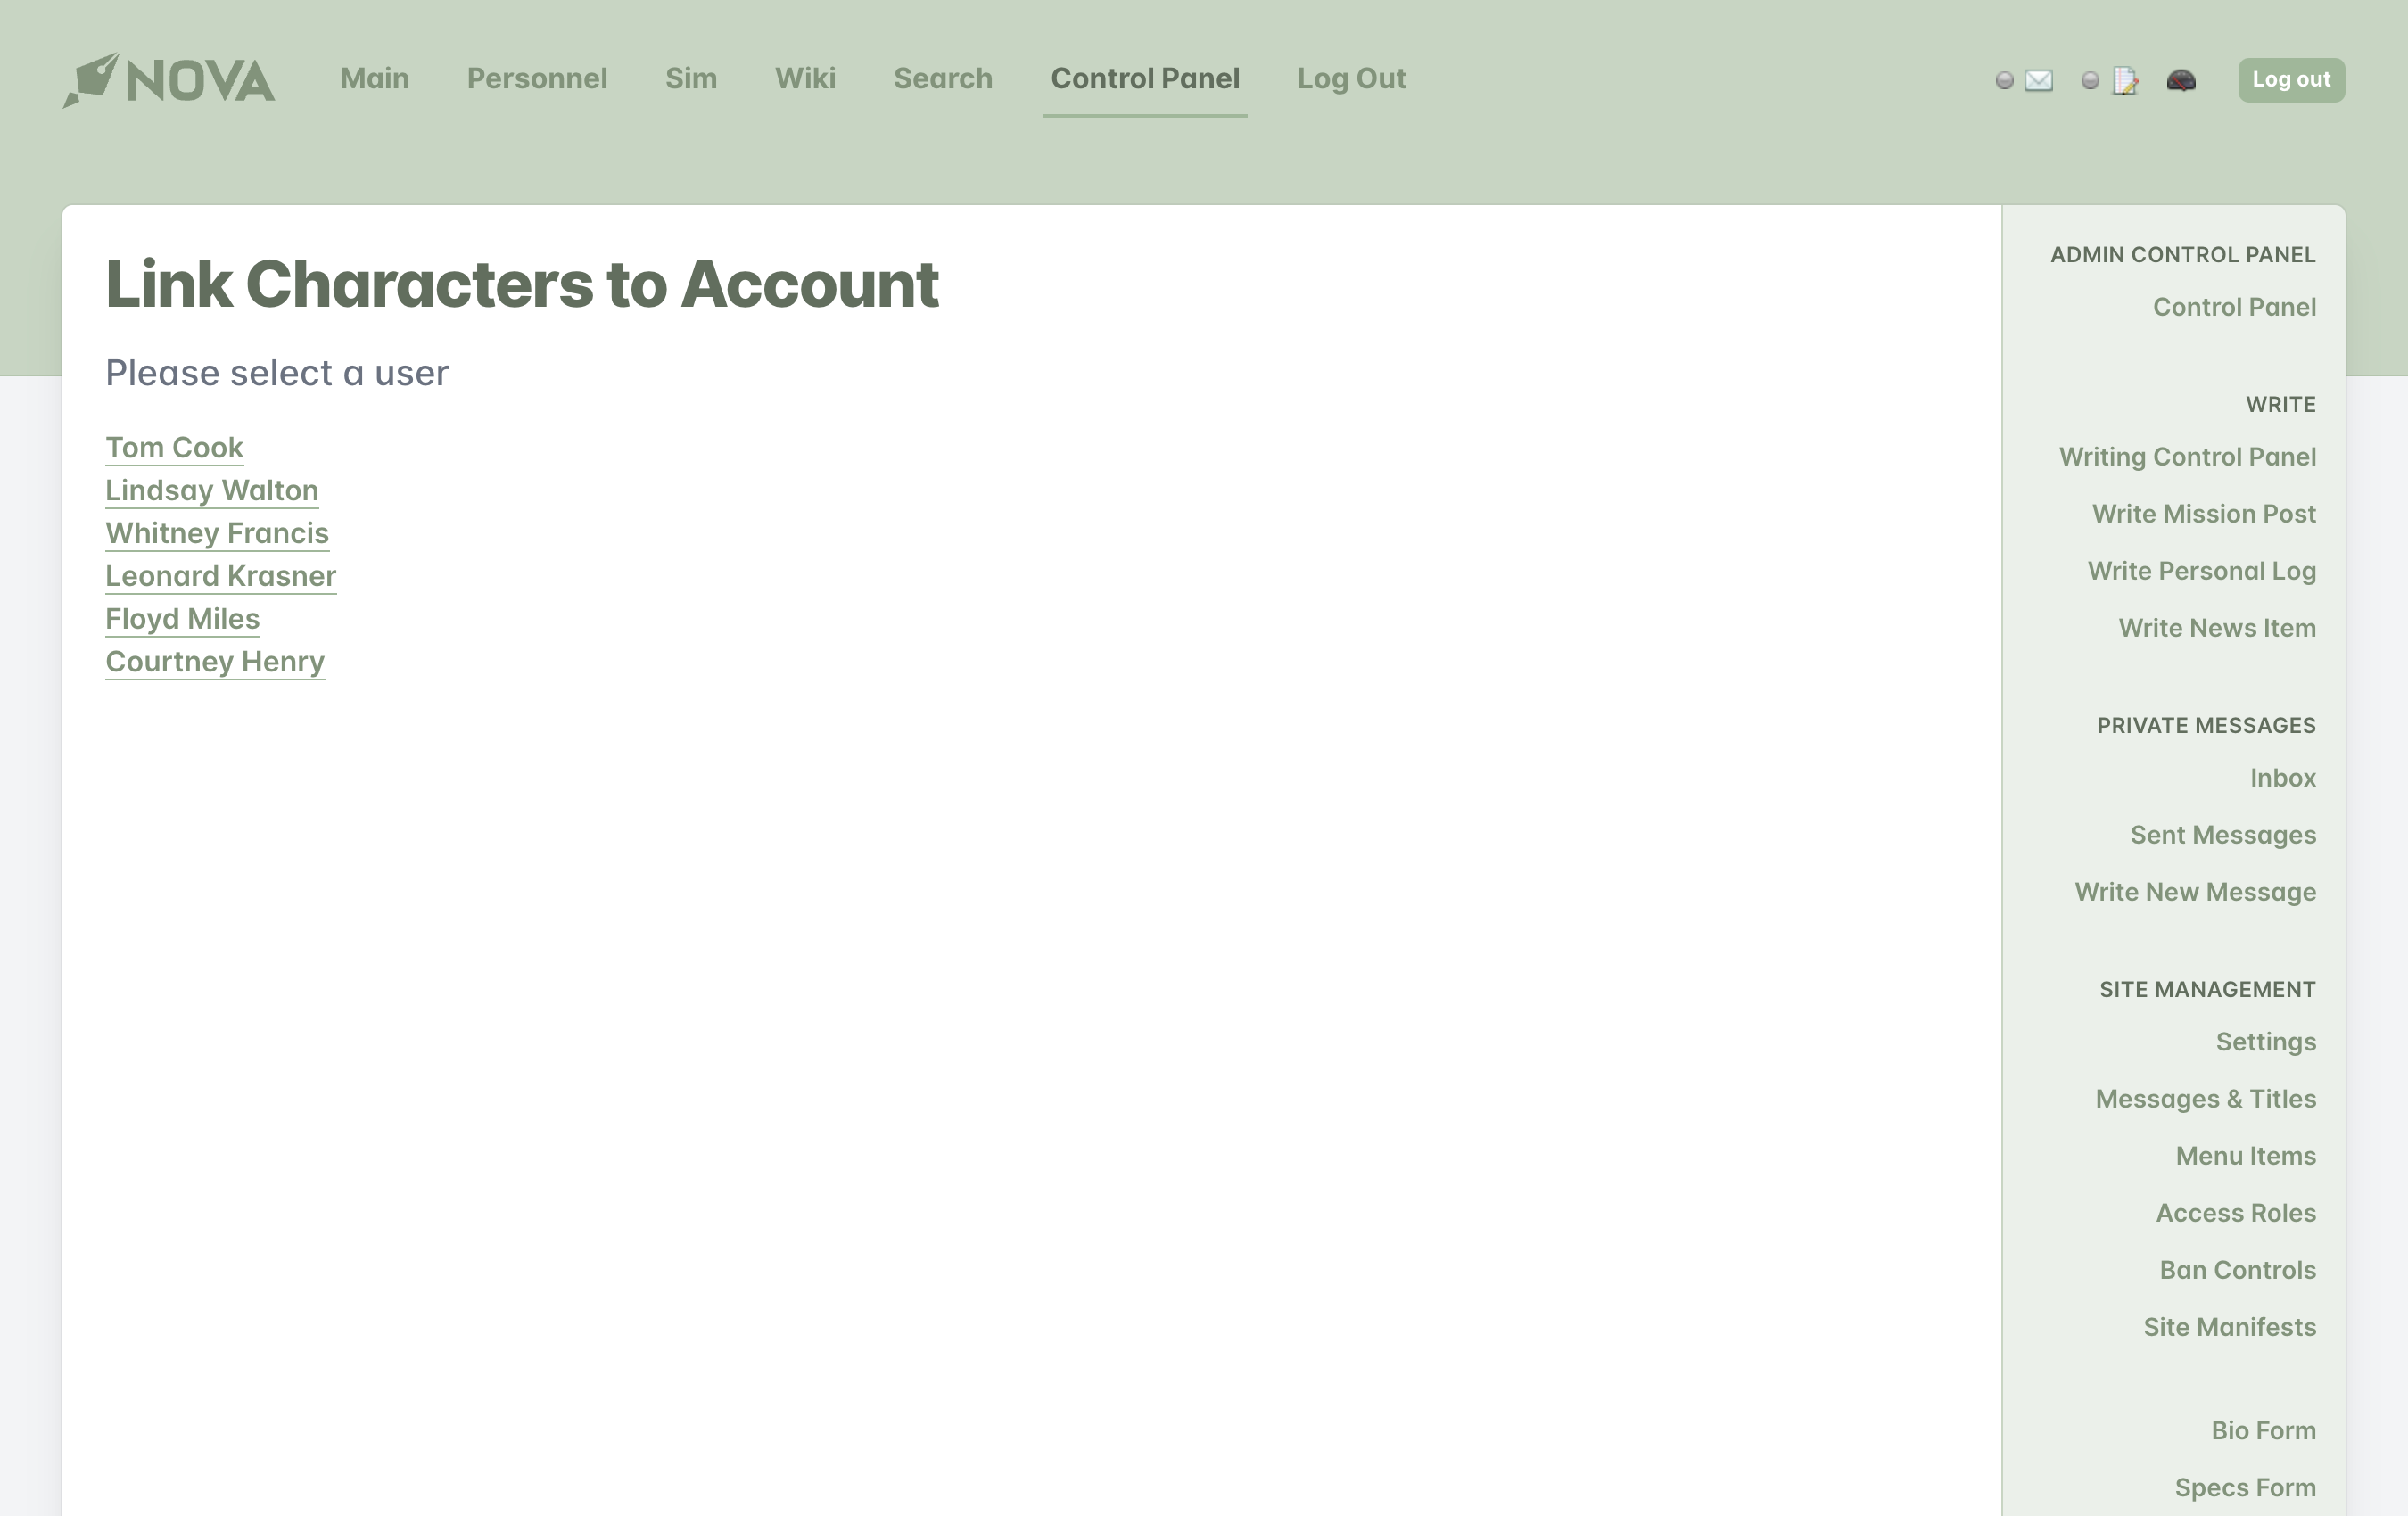
Click on the Non-playing Characters tab and locate the character you wish to add to the user's account. Press the green + button to add the character.
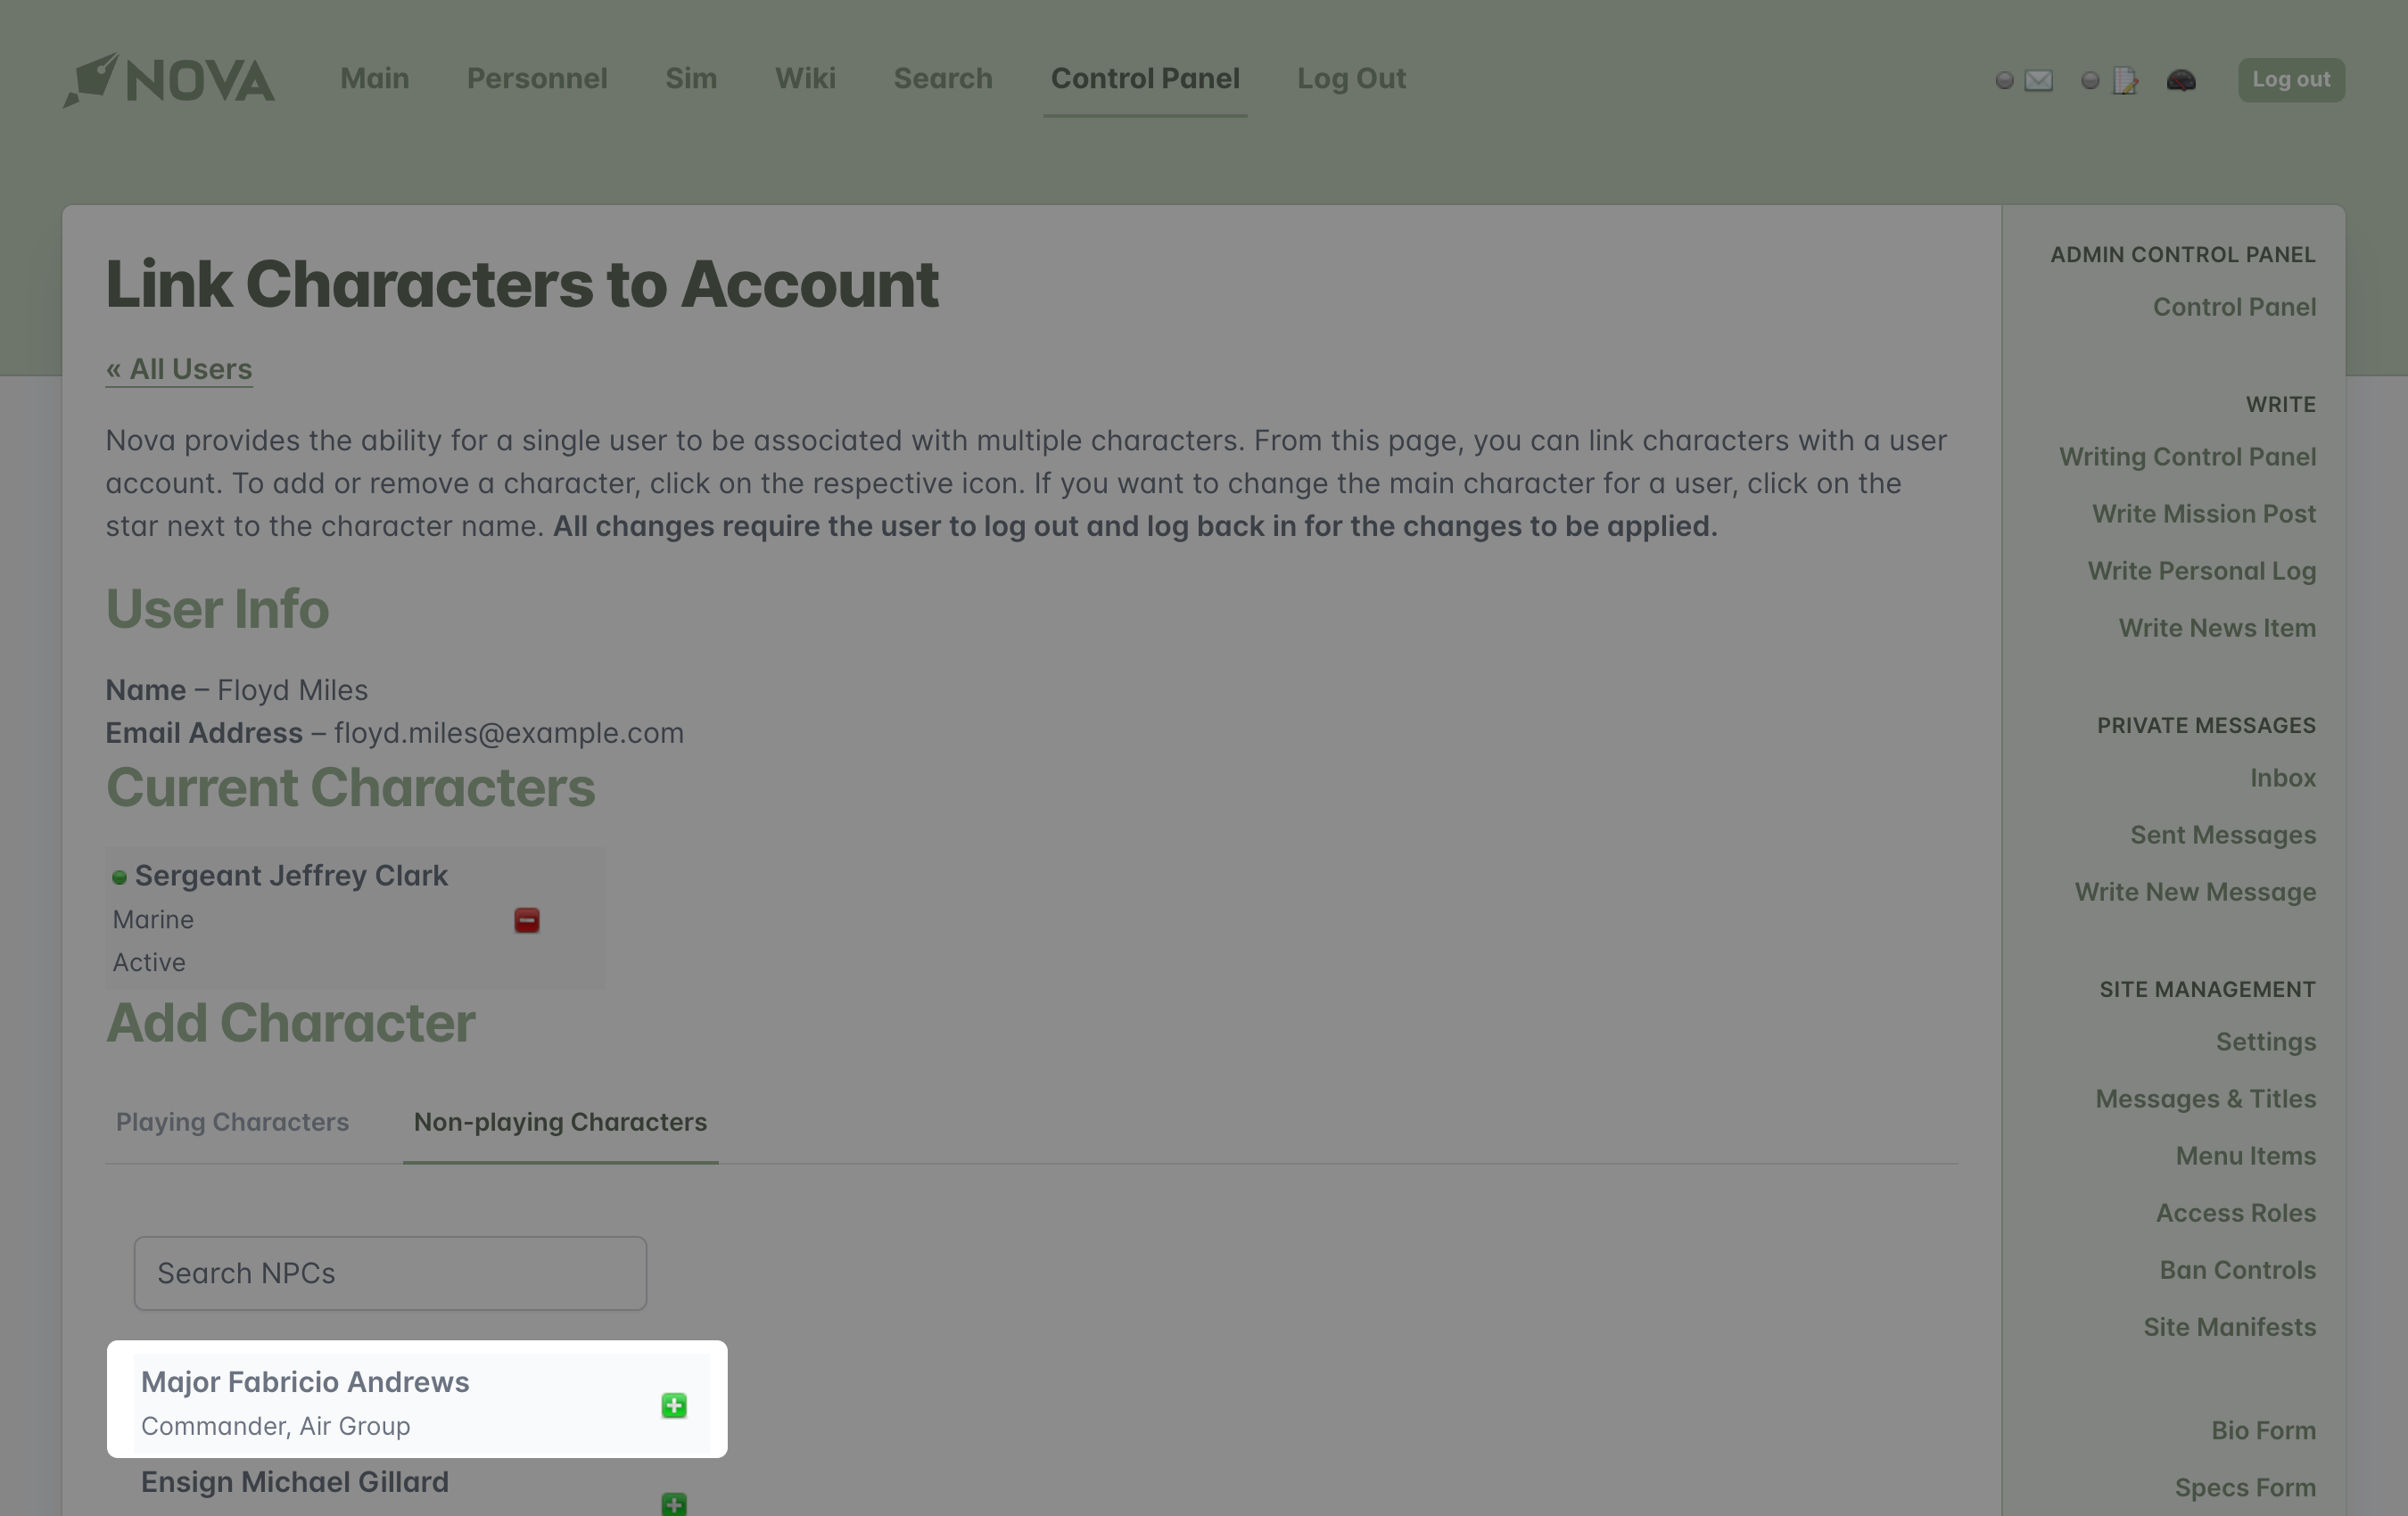
The character is now connected to the appropriate user. In order for the user to see the character within their account, they must log out and log back into the site.
