There are plenty of people in the community who are eager to contribute to Nova in some way, but don't feel they have the PHP chops to do anything with Nova proper. Never fear, there's plenty of chances to help out through maintaining this documentation. We want this documentation to grow and evolve over time and the community can help with that goal. If you're interested in helping make the documentation the best it can be, this is your chance to contribute.
What you'll need
Before you start contributing to Nova's documentation, there are a few things you'll need:
Forking the repository
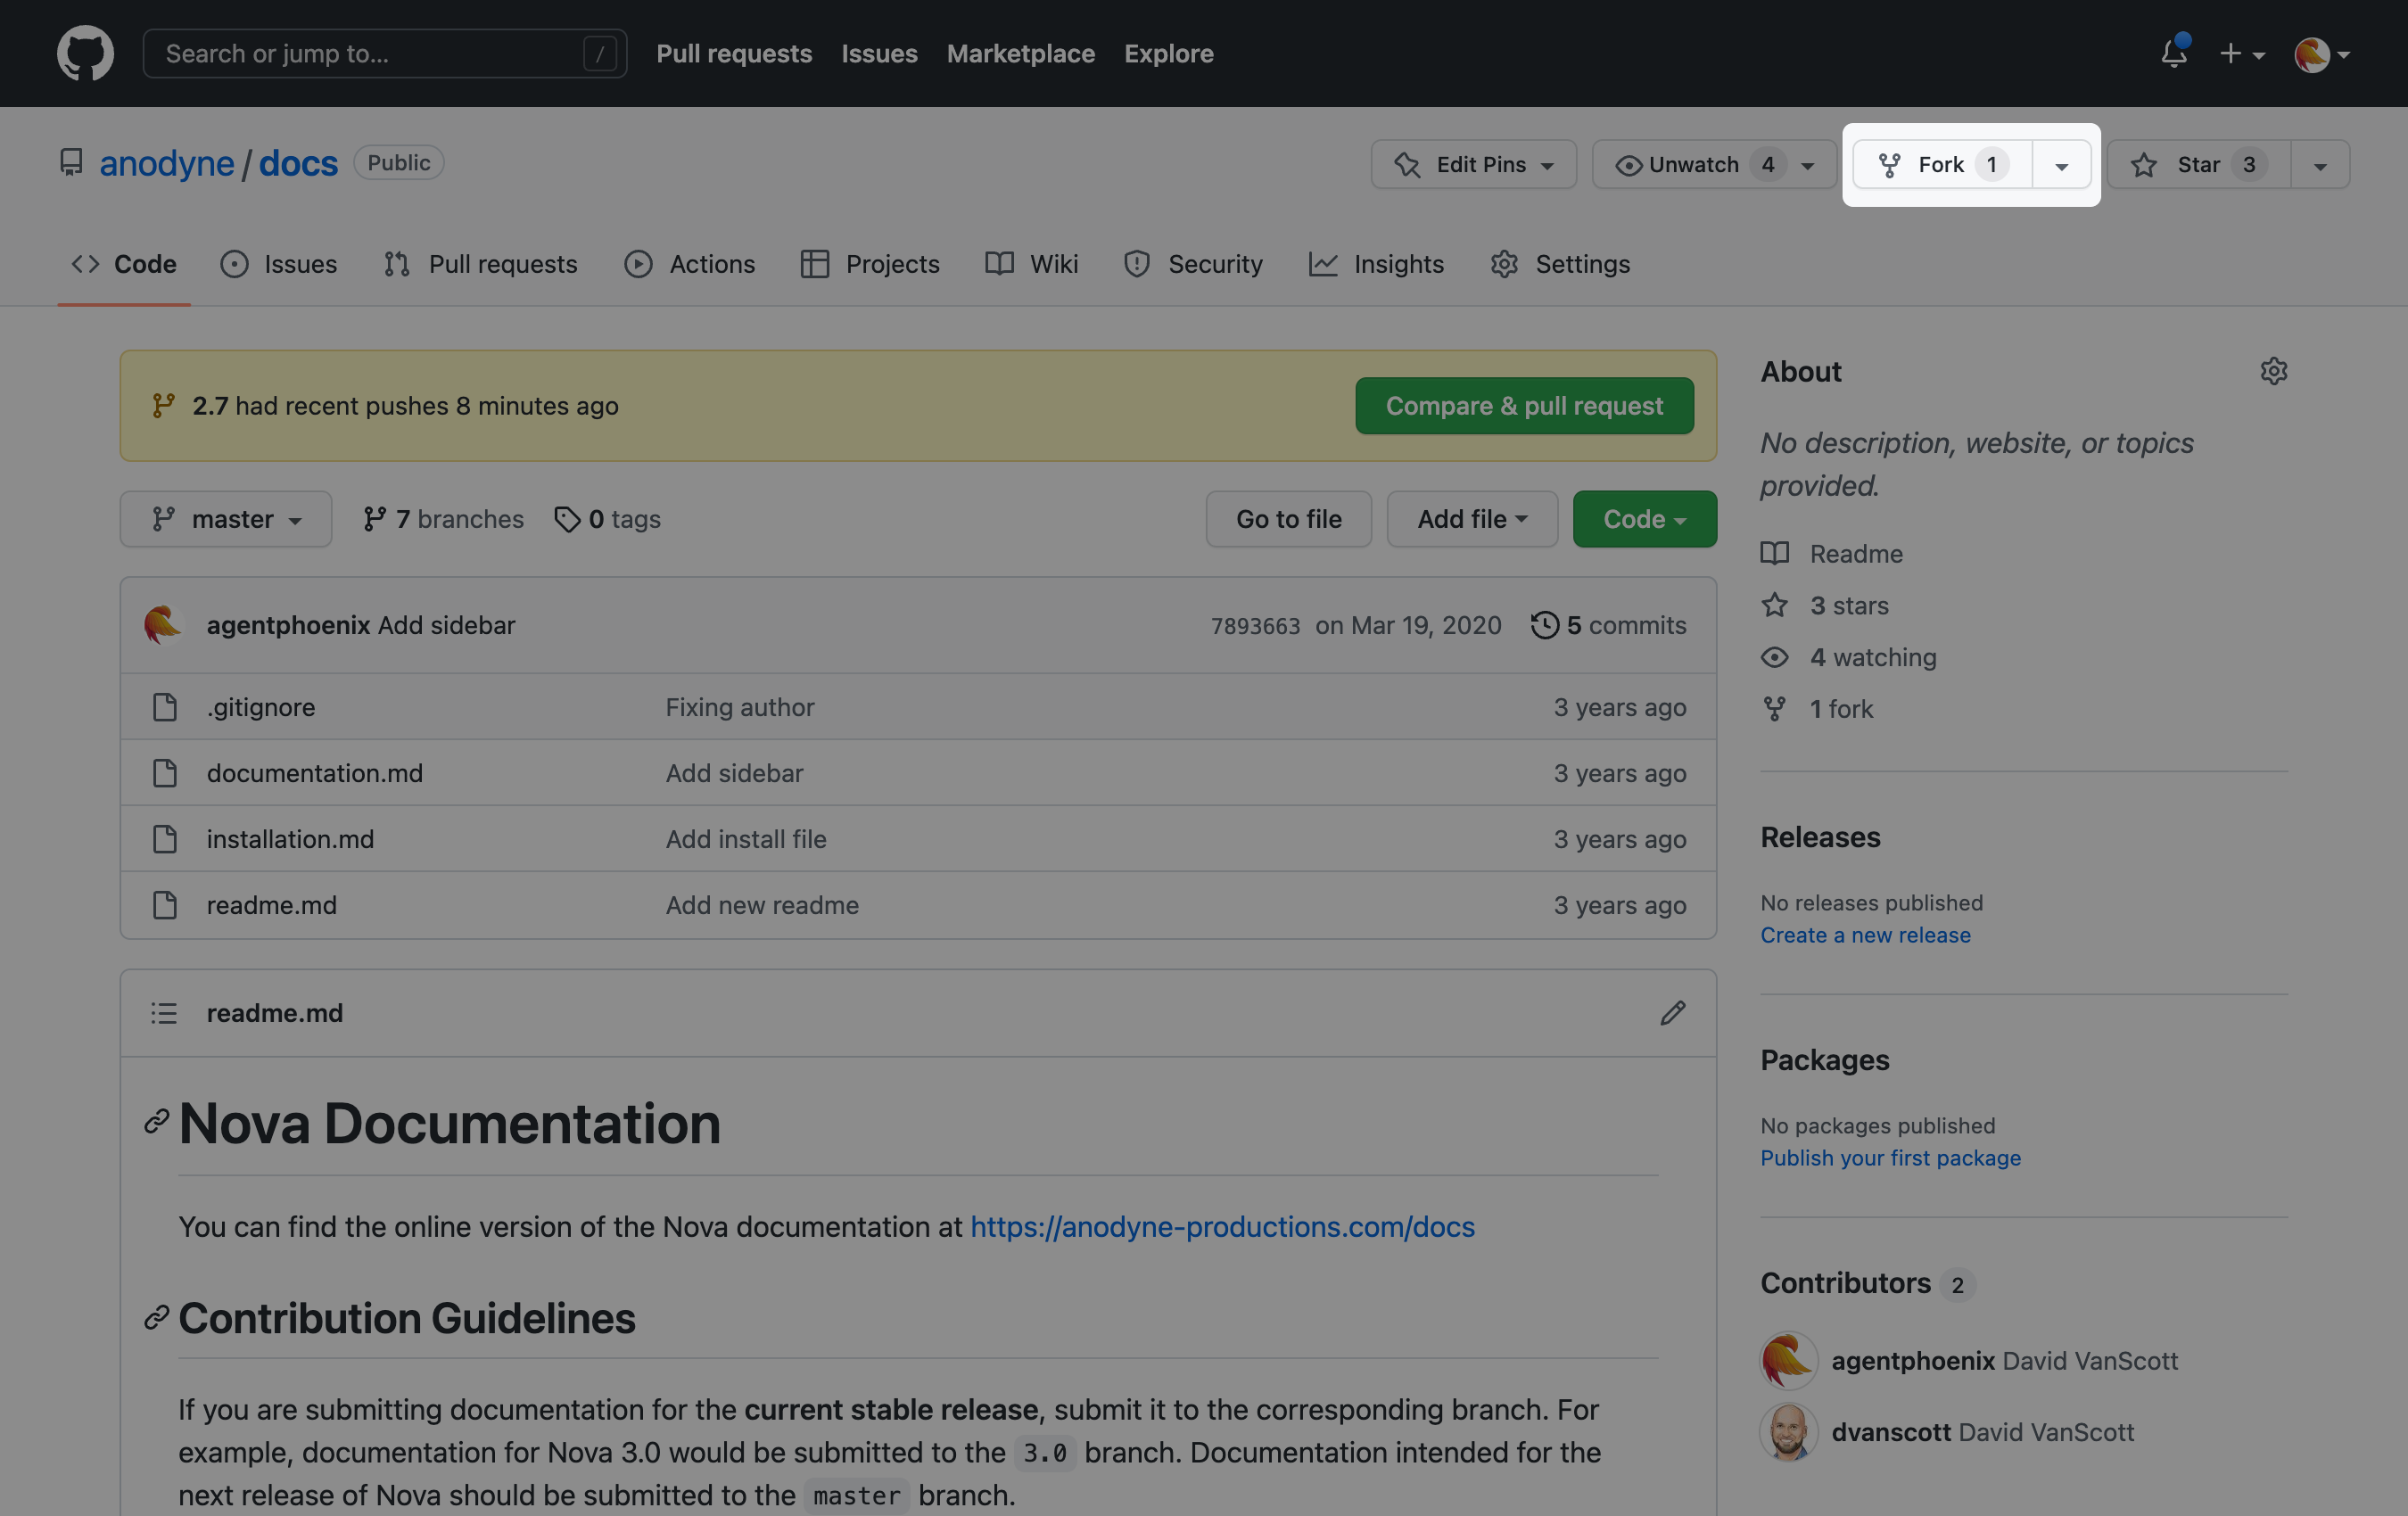
The first thing you'll need to do to get started contributing documentation to Nova is get a copy of the documentation on your personal Github account. This is known as forking a repository. To fork the documentation, navigate to the documentation repo and use the Fork button on the right side of the repository header.
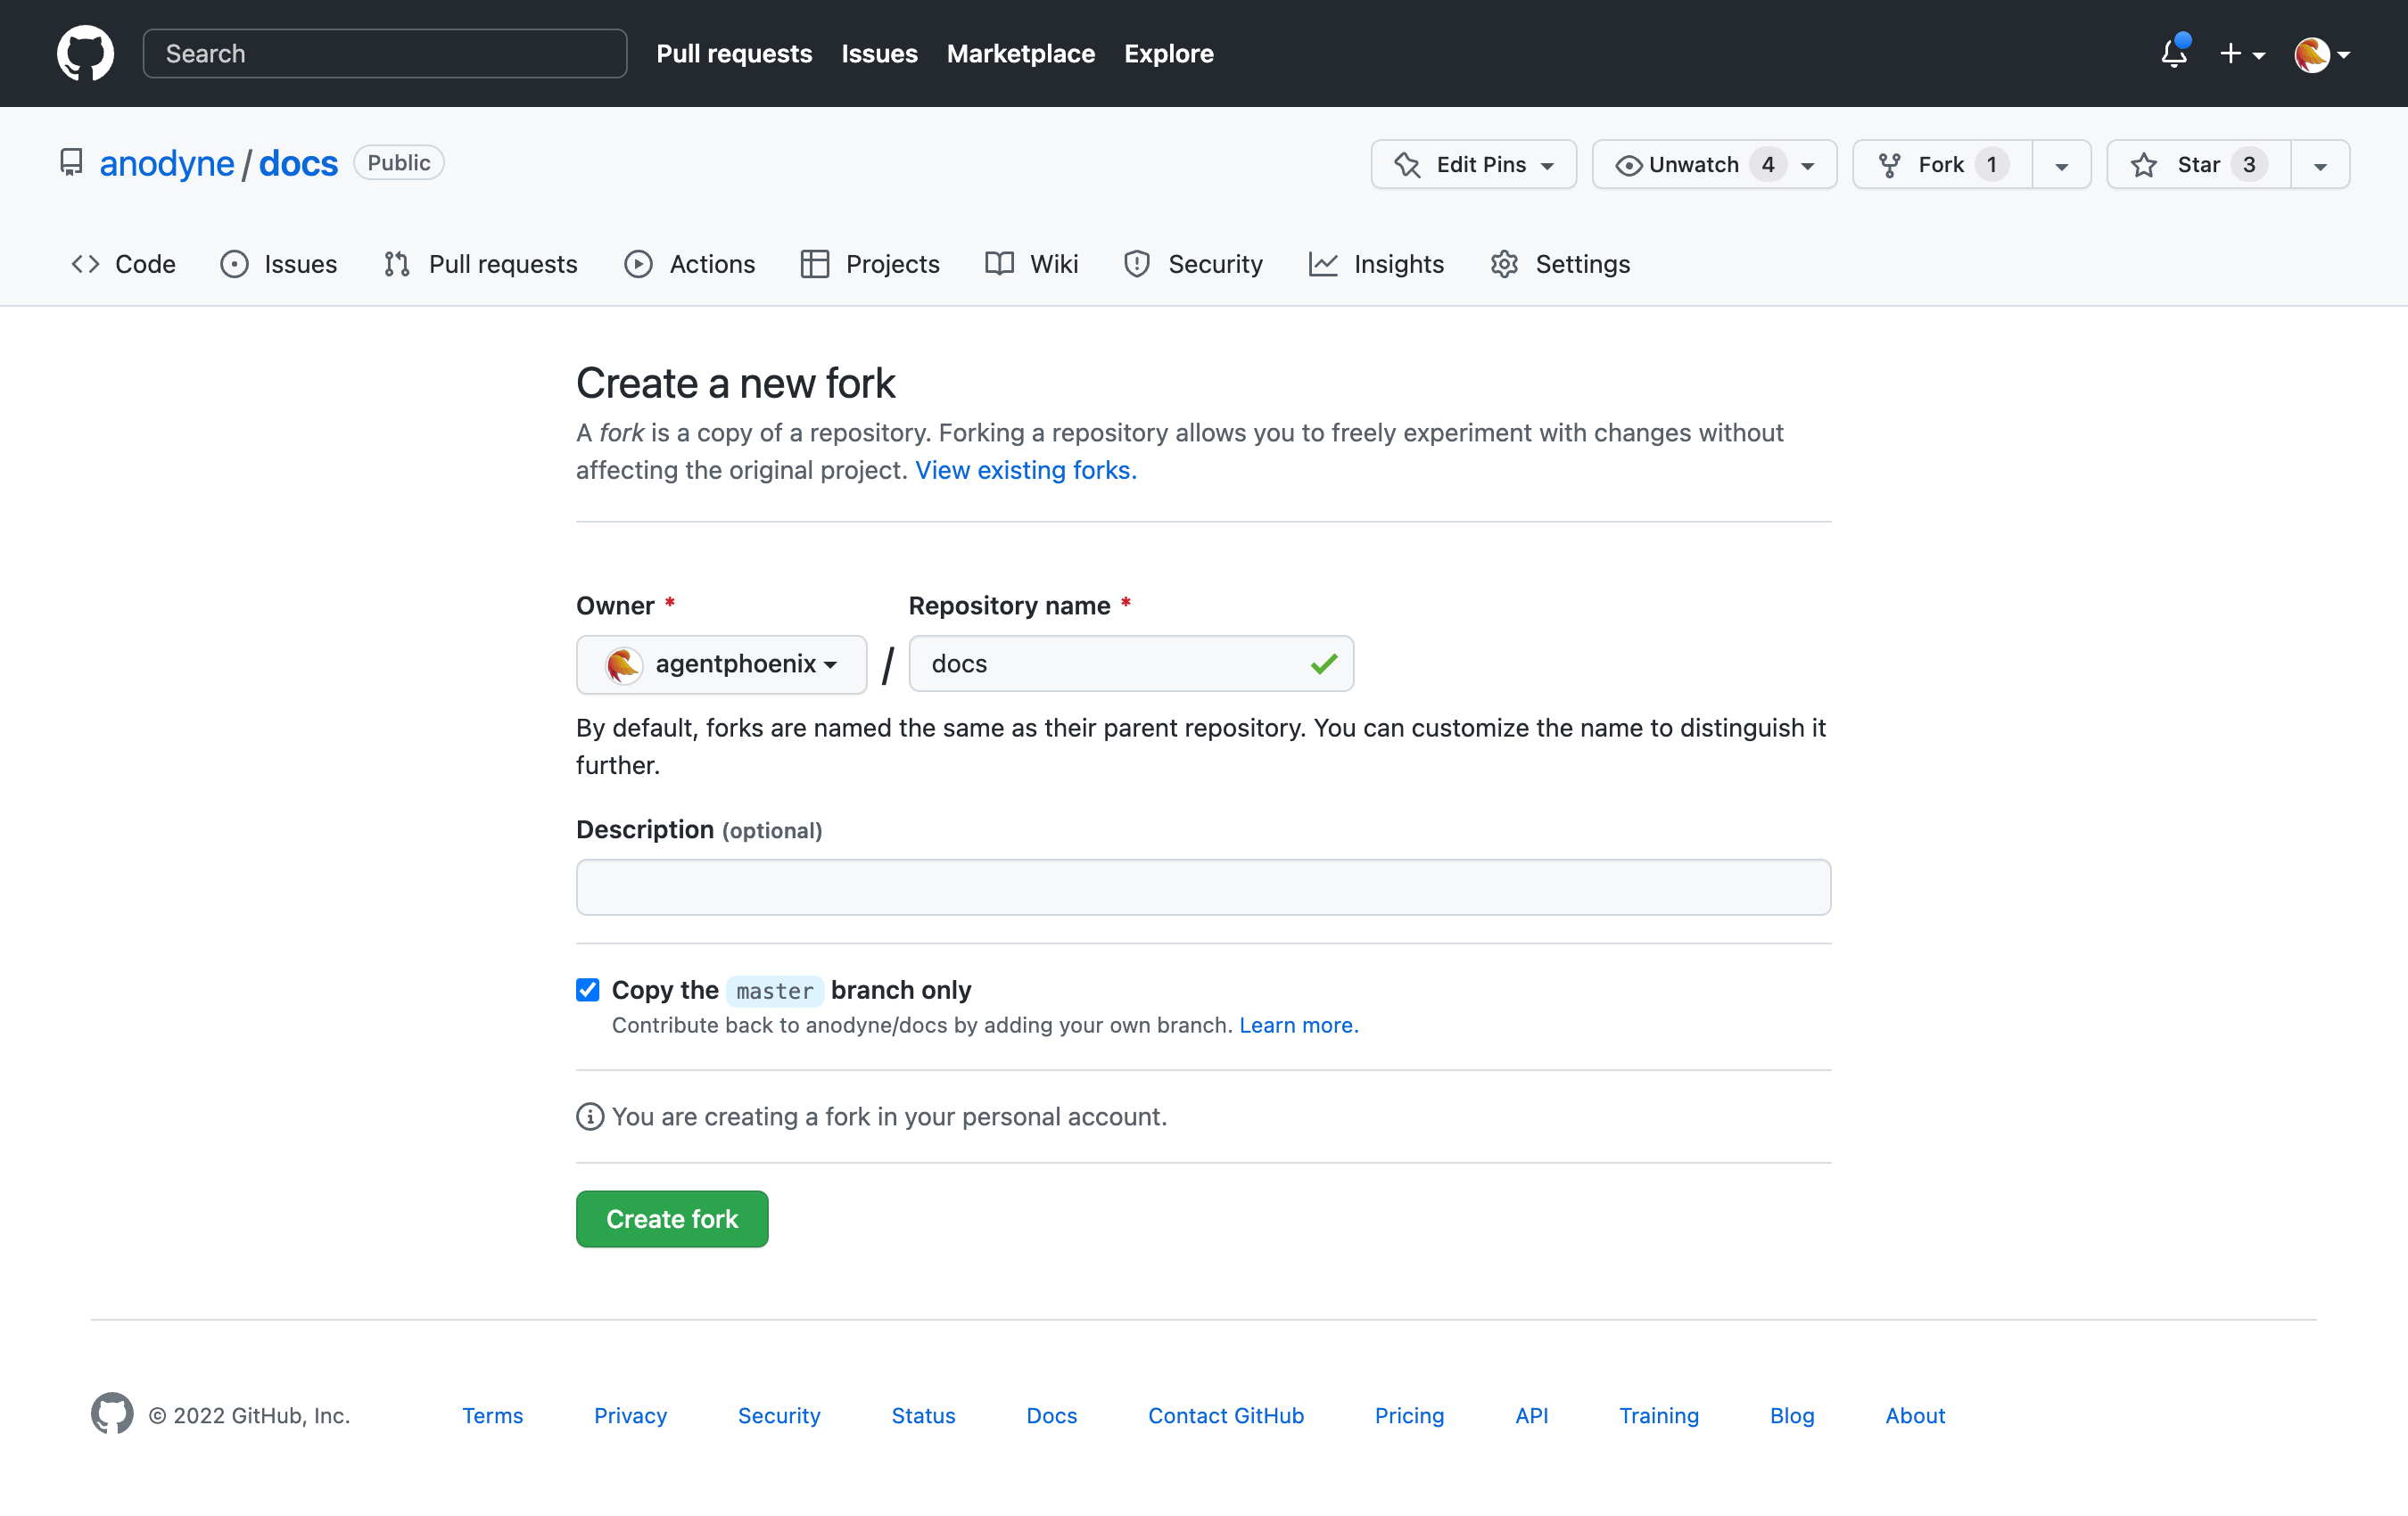
You'll be presented with a screen where you can enter some details for forking the repository to your own account. You should uncheck the option to only copy the master branch as you'll need access to additional branches in the repo.
Once you've forked the repository, you'll have a copy of it in your own account. This allows you to make changes without the need for any access or permissions to the Anodyne version of the repository. When you want to contribute changes, you'll be able to submit a pull request back to the Anodyne repository.
A word about branches
The docs repository is where all documentation for Nova is stored. We have created branches that match Nova's different versions. For contributing documentation to Nova, we ask that you submit pull requests to the 2.7 branch. This ensures that the latest version of Nova has the most up-to-date documentation.
If the work you're submitting also applies to previous versions as well, you can submit a separate pull request to the 2.6 branch.
Working with Github's web-based editor
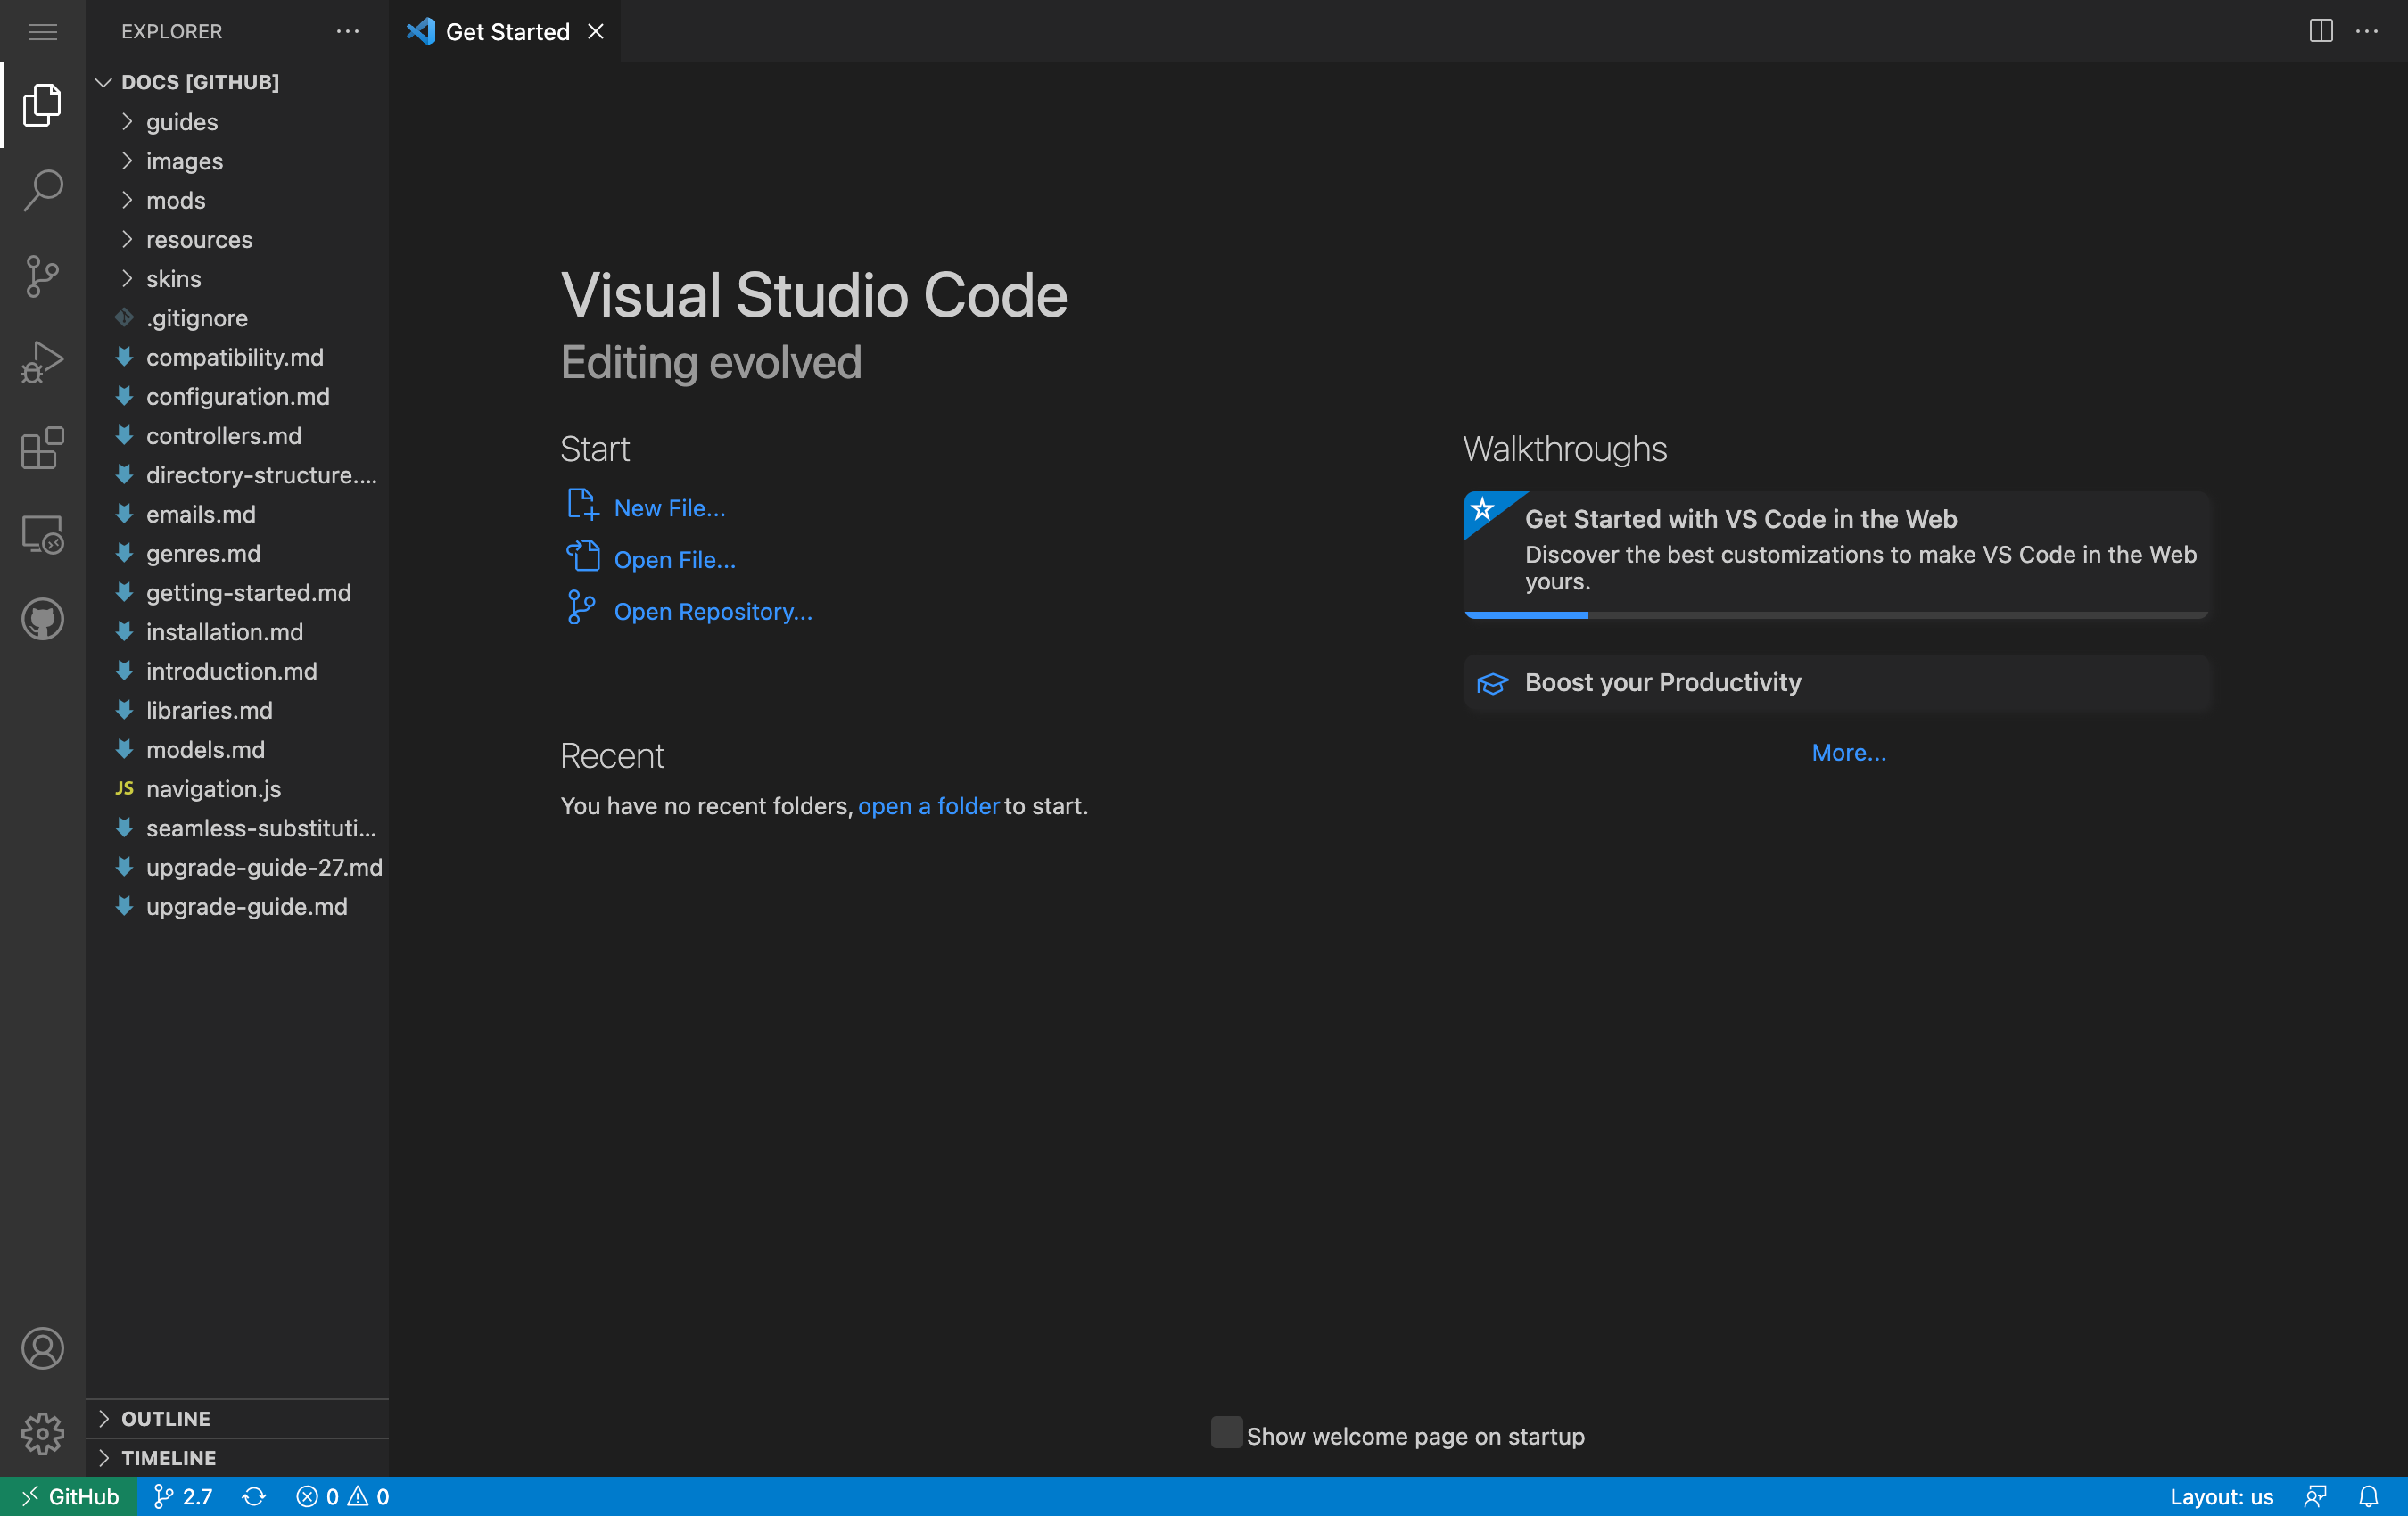
By far the easiest way to work with your forked repository is through Github's web-based editor. This gives you a lightweight text editor that runs entirely in your browser where you can make your edits without needing to worry about Git mechanics like cloning, pulling and fetching, committing changes, and pushing back to the repository.
To get started with Github's web-based editor, simply navigate to your forked version of the repository and press the . key (making sure you've selected the correct branch in your repo). After a few moments, you'll be presented with the web-based editor where you can navigate all the files, make your changes, and save them.
Making your changes
If you are editing an existing page (for example, fixing a typo or adding clarifying content), you can simply open the file, make your changes, and save it locally. Once your changes have been made, you can submit them back to the Anodyne repository for review.
If you are adding a new page to the documentation, you can create a new file, write your content, and save it locally. You will also need to update the navigation.json file to include that new page in the documentation sidebar.
Adding / updating images
Default skin only
When submitting screenshots for the documentation, please only use the Pulsar skin. This is the easiest skin to use as it's something everyone is familiar with.
Submitting your changes for review
Once you've finished making your changes, the final step is to submit a pull request back to the Anodyne repository for review.
Someone from Anodyne will review your pull request and provide feedback. Once all feedback is addressed, the changes will be merged into the repository and released.